Editor Basics - Characters

In this guide, we will review how to work with Characters: the actors of your story!
To get started, open 3Dstoryteller Studio and create a new story or choose an existing project. In this guide, we have chosen one of our great templates called Meeting Room.
In this story, notice that the Viewport displays two Characters, Kristen and Ramesh.
Let’s select Kristen using the Chapter Assets panel or by simply clicking on her in the Viewport.

Notice the Properties panel changes to display her Character Properties.
Each Character has unique properties that can be set to best tell your story. In this case, Kristen is set to Focus on Ramesh. Let’s change that up!
Click the Focus drop-down and then choose Camera from the list.

Notice how her head has turned and her eyes are looking at the Camera? Focus can be set for any asset in your scene; very helpful for building rich, interactive stories.
Now, let’s select Ramesh. Notice that his Focus is set to Kristen. Let’s change his Pose.
Click on the Pose field to open the Poses menu.
You can click each pose to preview in the Viewport, and once you have selected a pose click the Add Selected button to confirm.

In the screenshot above, you can see I have chosen the Listening Curious pose. As a result, Ramesh is now standing with is Focus still set to Kristen. Neat!
Poses are the default position for Characters in your stories. Compare them to Gestures, which are actions that Characters perform in each page of your story.
Let’s change Ramesh’s focus to the Camera, and then select a new Gesture from the Gestures Menu.
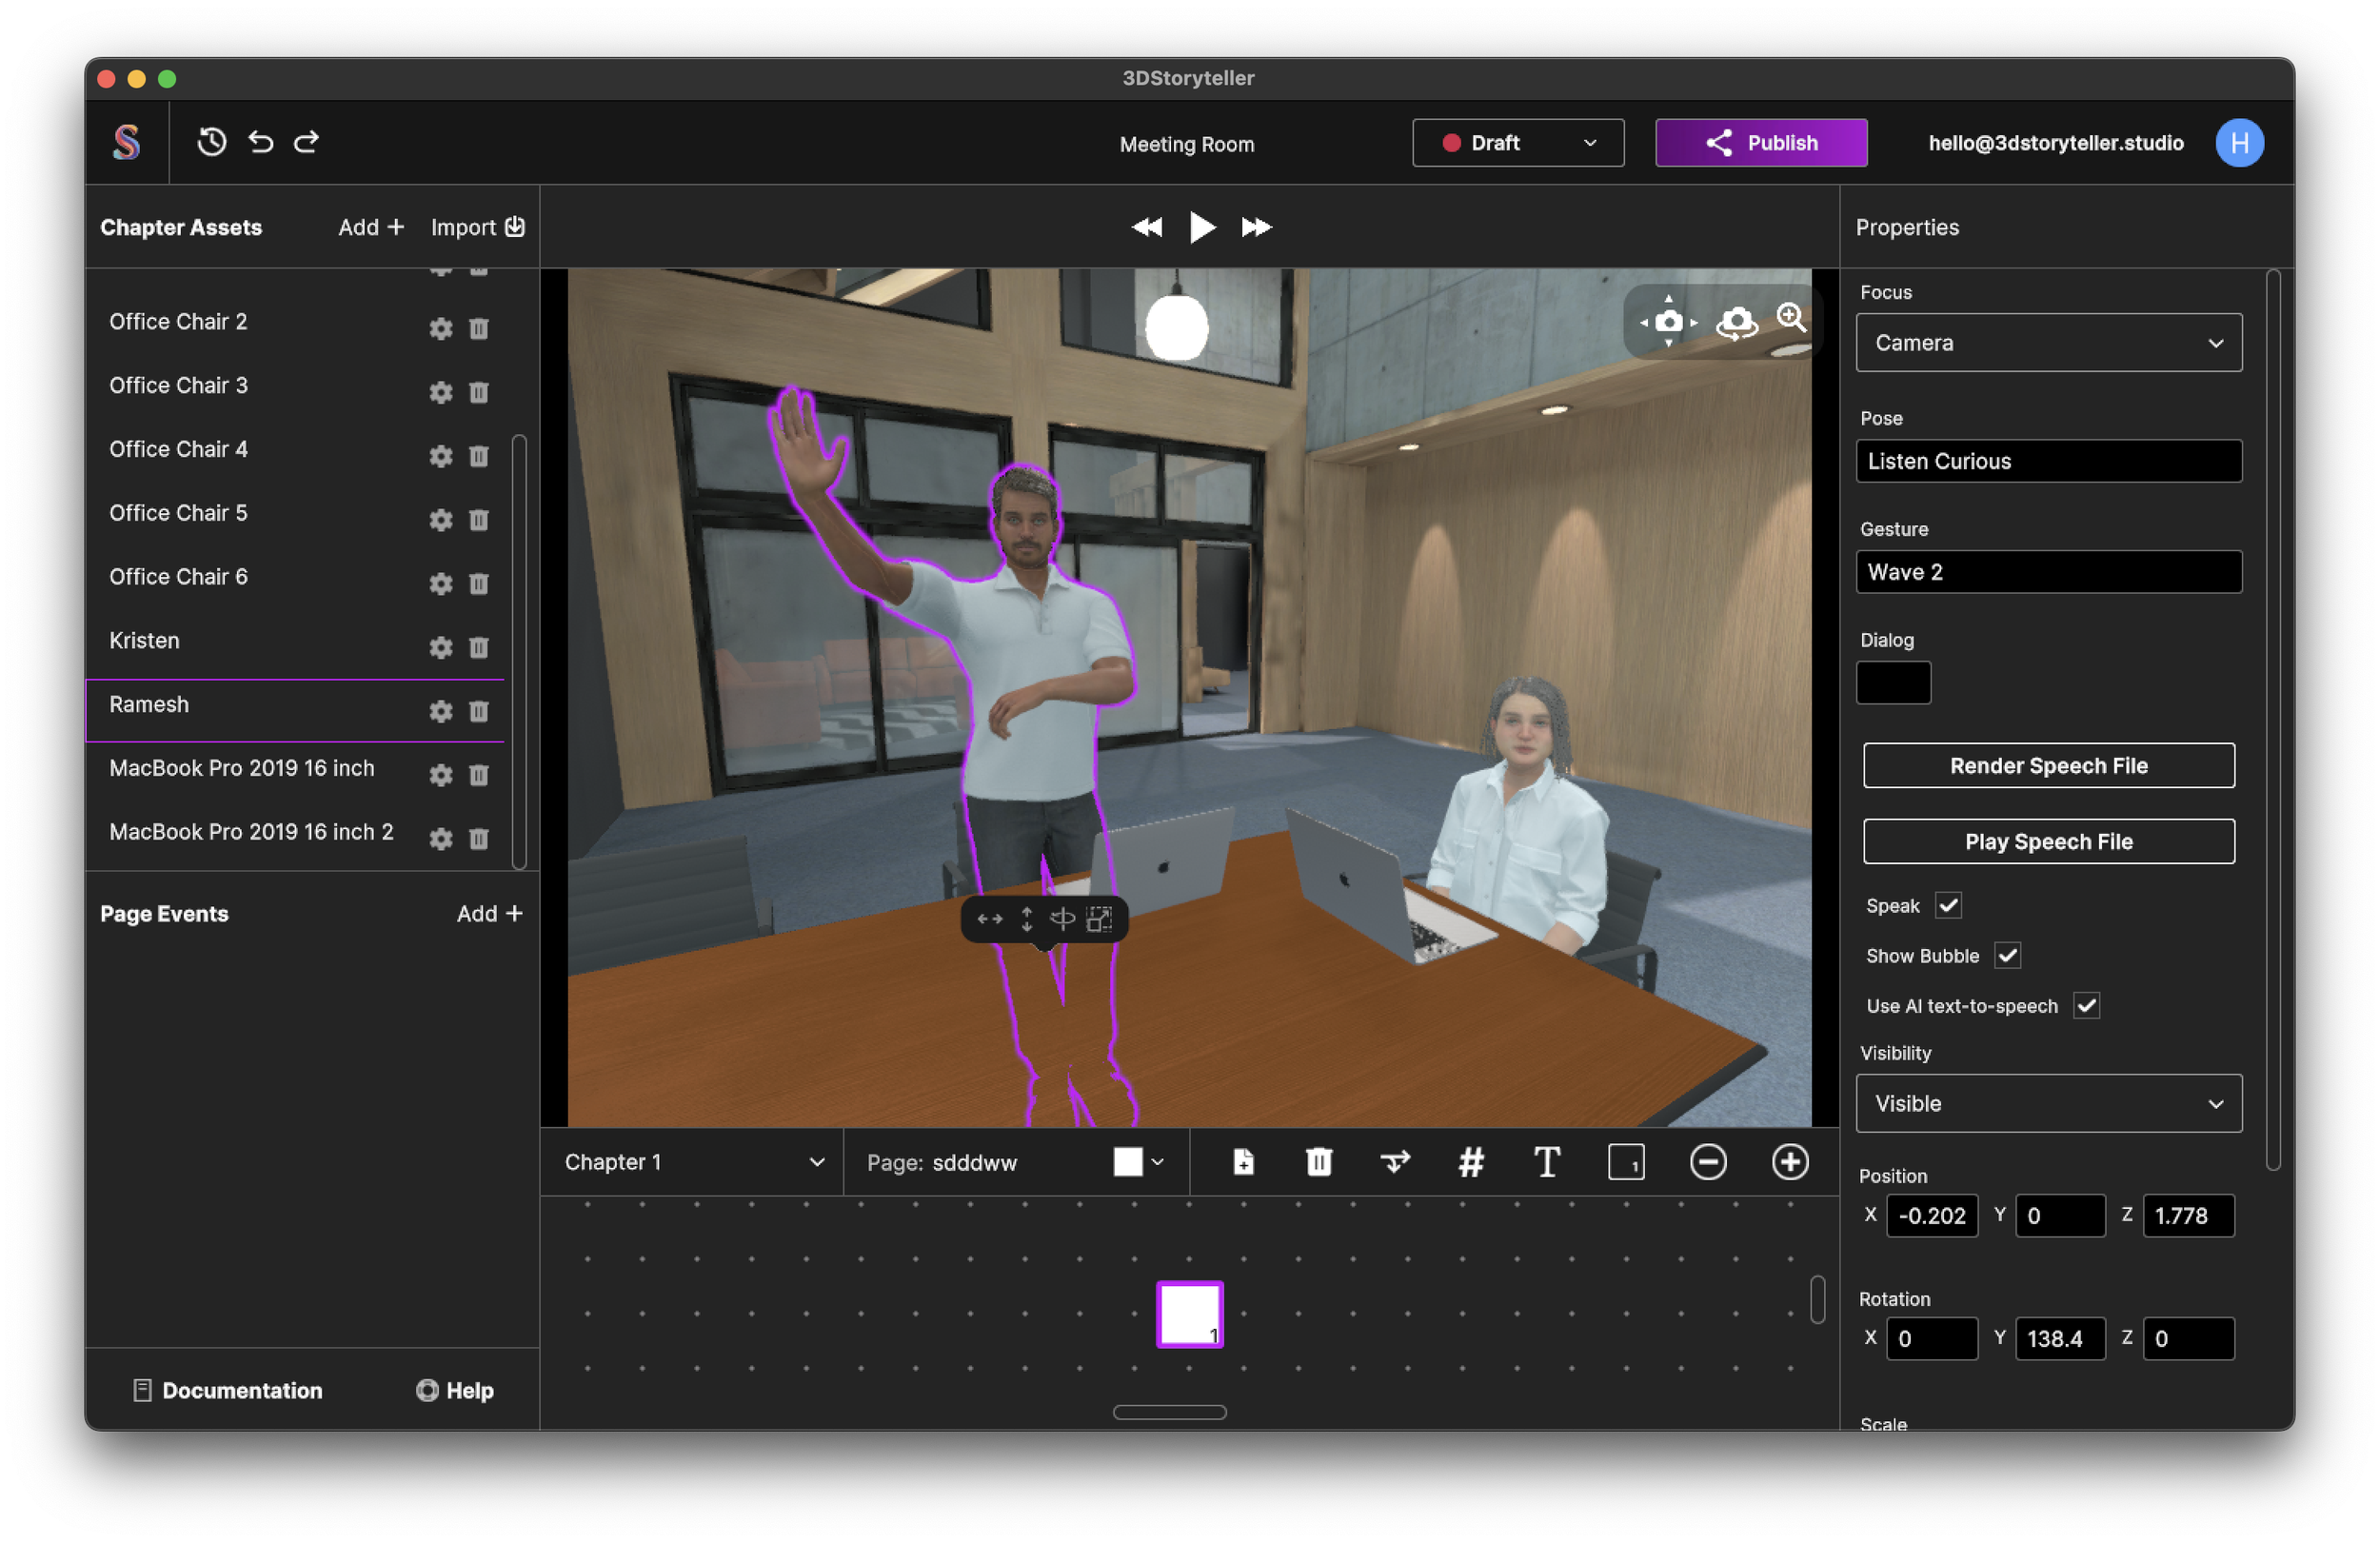
Here, we have set Ramesh to wave to the Camera by selecting the Wave 2 gesture. Reminder, Gestures will play when you first play a given Page and do not loop in the same way Poses do.
Now, let’s add some dialog to the story.
With Ramesh still selected, enter some dialog text into the Dialog field in the Properties panel. Here, we have simply entered “Hello, my name is Ramesh. Nice to meet you!”

Notice that a Speech Bubble appears once text is entered in the Dialog box. This is optional. To turn it off, simply click the checkbox next to Show Bubble.
You may have also noticed that Ramesh began speaking your text. You can toggle this speech by simply clicking the checkbox next to Speak.
Each of our characters has a unique, AI-powered voice that automatically generates the sound file containing the dialog you enter. Futuristic!
Now, select the Play button from the top of the Viewport to preview your story.

Clicking Play will open the Story Player and playback your story as if you had published and shared with the world. Any poses, gestures, prop states, and dialog will play and you can fine-tune your story based on the results. Nifty!
In our next guide, we will take a look at Pages Events and how to bring interactive elements to your story.